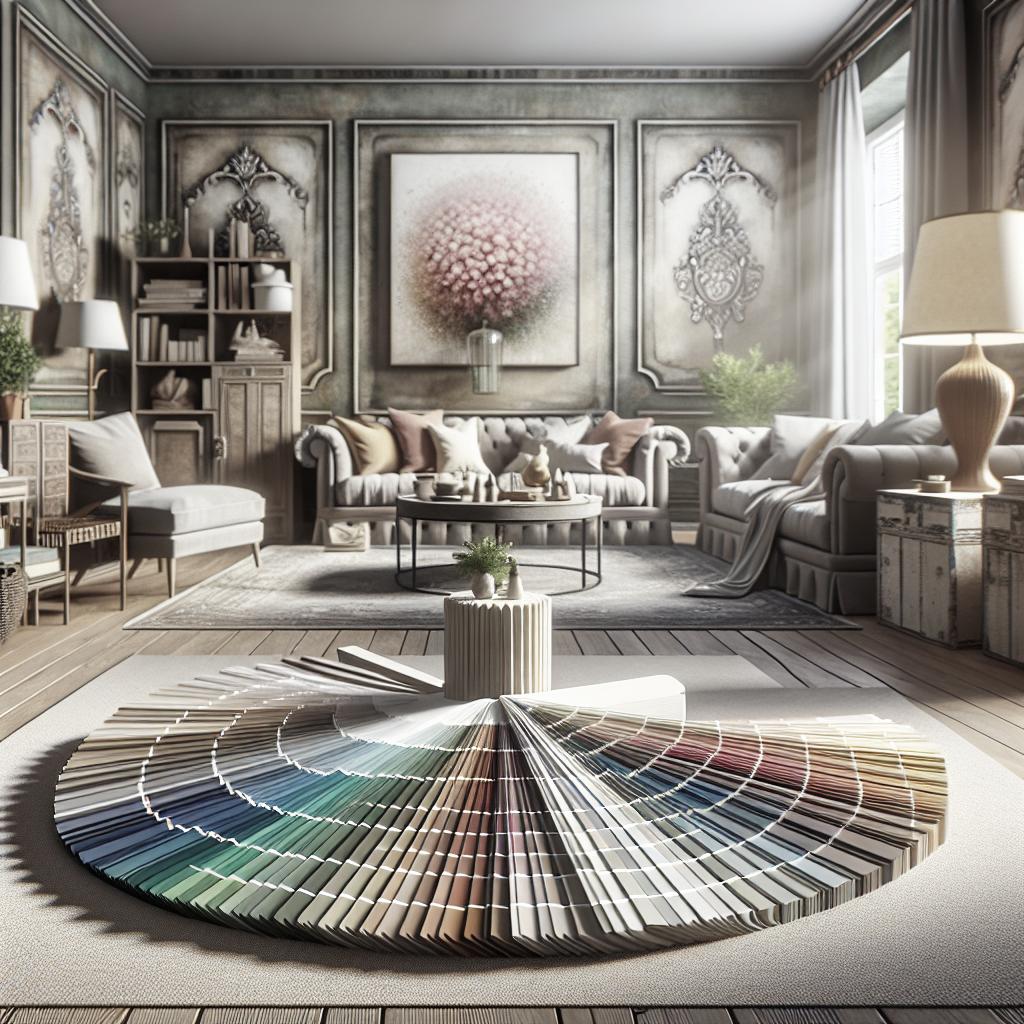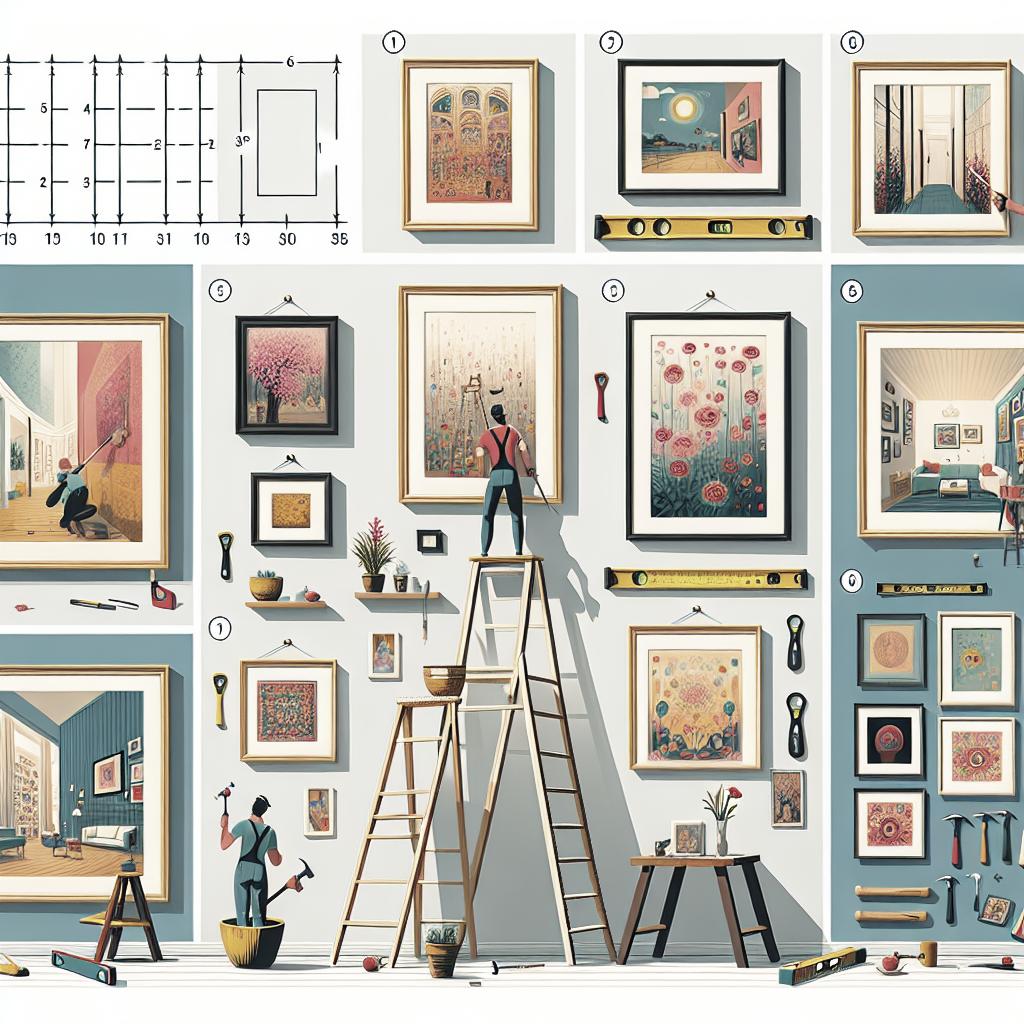
Creating a gallery wall is an artful way to turn your living space into a personalized gallery, brimming with style and character. Whether it’s a nostalgic collection of family photos, eclectic art prints, or a mixture of both, a gallery wall adds a dynamic touch to any room. As you embark on this creative journey, planning is key. This guide will walk you through the essential steps to crafting a stunning gallery wall – from choosing the right layout and color palette to selecting frames and personalizing your collection. Prepare to blend your artistic instincts with practical strategies to create a visually appealing and cohesive display that reflects your unique style and story. ### First, Don’t Get All Hole-y – Lay Out Your Gallery Wall Before You Hang It Before grabbing your hammer and nails, it’s vital to plan your gallery wall layout. Laying out your collection on the floor is an effective way to visualize the arrangement without committing to any placement. This step allows you to experiment with different configurations until you find a composition that feels just right. You might start by placing items in a grid, a symmetrical pattern, or a freeform alignment, depending on your taste and the space available. Consider the spacing between pieces. Uniform spacing provides a clean, organized look, while varied spacing can introduce a more relaxed, dynamic feel. Pay attention to how each piece relates to its neighbors – you’ll want the flow to feel natural and balanced. Use paper templates or painter’s tape to mark the proposed positions on the wall before making any holes. This approach minimizes mistakes and ensures that once you begin hanging, you’re confident in your design. ### Create a Cohesive Color Palette for a Pulled Together Look A cohesive color palette is the foundation of a polished gallery wall. Start by identifying a dominant color or theme that suits the room’s existing décor and works harmoniously with other elements. Even in an eclectic display, maintaining some consistency in color ties the pieces together and creates visual harmony across the gallery. Consider using colors from your current interior design, or draw inspiration from a favorite piece of art. You might focus on complementary colors or establish a neutral base with pops of color for contrast. Additionally, consider matting or frames in similar hues to further blend disparate elements. Remember, the goal is to establish a thread of connectivity while still allowing each piece the opportunity to shine within the collection. ### Go Big – Start with Something Large and In Charge to Anchor the Whole Collection When it comes to creating a visually striking gallery wall, it’s important to include a focal point that anchors the entire arrangement. Start with a large, commanding piece that sets the tone and establishes hierarchy within your collection. This piece need not be central, but it should stand out as a natural starting point for the eye. Once you identify your “anchor,” arrange other elements around it in a way that feels cohesive. Let the large piece dictate the proportional scale and spacing of the surrounding art. For instance, if your main piece features an intricate design, consider complementing it with simpler or more subdued pieces. This method provides balance and harmony, preventing the wall from feeling cluttered or overwhelming. ### If Your Biggest Piece is #1, Then Your Next Biggest Piece is #2 After establishing the dominant piece in your gallery wall, it’s time to integrate your next largest item. This secondary piece should complement the anchor without overshadowing it, serving as a visual bridge between the principal piece and the rest of the collection. Strategically place it to create a sense of progression and movement across the wall. Consider its color, style, and texture relative to its neighbors. Its placement can vary—either opposite the primary piece to create balance or adjacent to enhance a particular section of your collection. Like laying a foundation, this positioning phase is critical in setting up a gallery wall that’s as alluring as it is orderly. ### Mix Your Horizontals & Verticals (And Give Pairs a Try) Diversity is key in keeping a gallery wall visually interesting, and one way to achieve this is by incorporating both horizontal and vertical pieces. This variation can break up monotony, offering the eye different lines and perspectives to follow. As you experiment with compositions, test out how these orientations interact with one another to create a dynamic focal area or a flowing cascade of art. Pairs of pieces can also offer a playful symmetry or complementarity in your gallery wall. Matching or thematically related pairs can serve as anchors within smaller sections of your wall, adding to the overall cohesion and narrative. Whether through complementary colors, styles, or themes, these pairings can enrich the dialog between the pieces and enhance the visual storytelling of your wall. ### While We’re at It, Don’t Feel Like You Have to Stick to One Type of Frame – Mix It Up Frame diversity can bring texture and depth to your gallery wall. Rather than adhering to one style, consider mixing various types, such as wood, metal, or painted finishes, to add personality and interest. Each frame can introduce different moods, highlight particular pieces of art, or draw attention to specific details within the work. When selecting frames, consider how their styles interact with each piece and the overall color palette. Strive for a balance that feels eclectic yet harmonious. For example, using three or four types of frames can offer enough diversity while still maintaining unity throughout the gallery. This approach allows some freedom in presenting each piece in a way that best suits its style and purpose. ### Don’t Be Such a Square – Not Everything Has to Be Framed (or Square) To add even more interest to your gallery wall, consider the inclusion of three-dimensional objects or unframed pieces. Items such as canvases, textiles, mirrors, or decorative objects can break away from the conventional square and rectangular formats. Their varied shapes and dimensions introduce layers and depth, contributing to a more tactile and dynamic presentation. Experiment with unconventional materials or art forms, like woven baskets or ceramic plates. By thinking outside the frame, you can introduce elements that reflect personal tastes and create a unique artistic statement. This inclusion of varied textures and forms enhances the visual interest and personalizes your gallery wall, making it a true reflection of your style. ### When in Doubt, Float Mount Modern, sleek, and minimalist, float mounting is a technique that gives pieces from your collection a unique and airy presentation. This approach involves raising the artwork slightly within the frame, creating the illusion that it’s floating against the backing. Float mounting can enhance the perception of depth and make pieces feel more significant. This method works particularly well for artwork with unique edges or pieces that you want to fully showcase, free from traditional mats or borders. By exposing the full beauty of the art, float mounting can elevate simpler pieces into sophisticated focal points within your gallery. This understated presentation style complements both contemporary and classic designs, enhancing the gallery’s overall sophistication. ### Add Something Personal – Anything Can Be Art Your gallery wall is a canvas that tells your story, so make it personal. Mixing in personal artifacts, such as family heirlooms, travel souvenirs, or meaningful quotes, can transform your collection from just an art display into a deeply personal narrative. These elements not only add warmth and authenticity but also invite conversation. Personal items can coexist beautifully with more traditional forms of art. A beautifully framed letter, a childhood drawing, or even a quirky found object adds layers to your story. Be creative and think of your gallery wall as your own curated museum, where anything with a story or significance can find its place on the wall. ### Want More of Where That Came From? Once you’ve successfully crafted your gallery wall, don’t let it be your only creative outlet. Your experience and newfound artistic flair can be expanded to other aspects of home décor or even other rooms. Consider extending your gallery wall around a corner or creating smaller themed collections in other living spaces. You can also experiment with seasonal swaps; change up pieces to reflect different times of the year or personal milestones. This flexibility can keep your interior fresh and reflective of your evolving tastes and experiences. The skills you gain from creating a gallery wall can be applied to various creative projects, enhancing your surroundings and your appreciation for art. “`html
| Step | Description |
|---|---|
| Lay Out Before Hanging | Plan your arrangement on the floor to experiment with configurations and spacing. |
| Cohesive Color Palette | Use a unified color theme to tie different art pieces together. |
| Start with a Large Anchor | Choose a focal piece that sets the tone and structure for the gallery. |
| Next Biggest Piece | Add a second large piece to complement the anchor, creating balance. |
| Mix Orientations | Incorporate horizontal and vertical elements and experiment with pairs for variety. |
| Mix Frame Styles | Introduce diverse frame types to add texture and visual interest. |
| Incorporate 3D Objects | Add items beyond framed pieces, like textiles and ceramics, to increase depth. |
| Float Mount | Use float mounting to add sophistication and enhance the perception of depth. |
| Add Personal Elements | Include personal artifacts to make the gallery wall unique and meaningful. |
| Expand & Evolve | Apply your creativity to other areas and modify your wall with evolving tastes. |
“`